
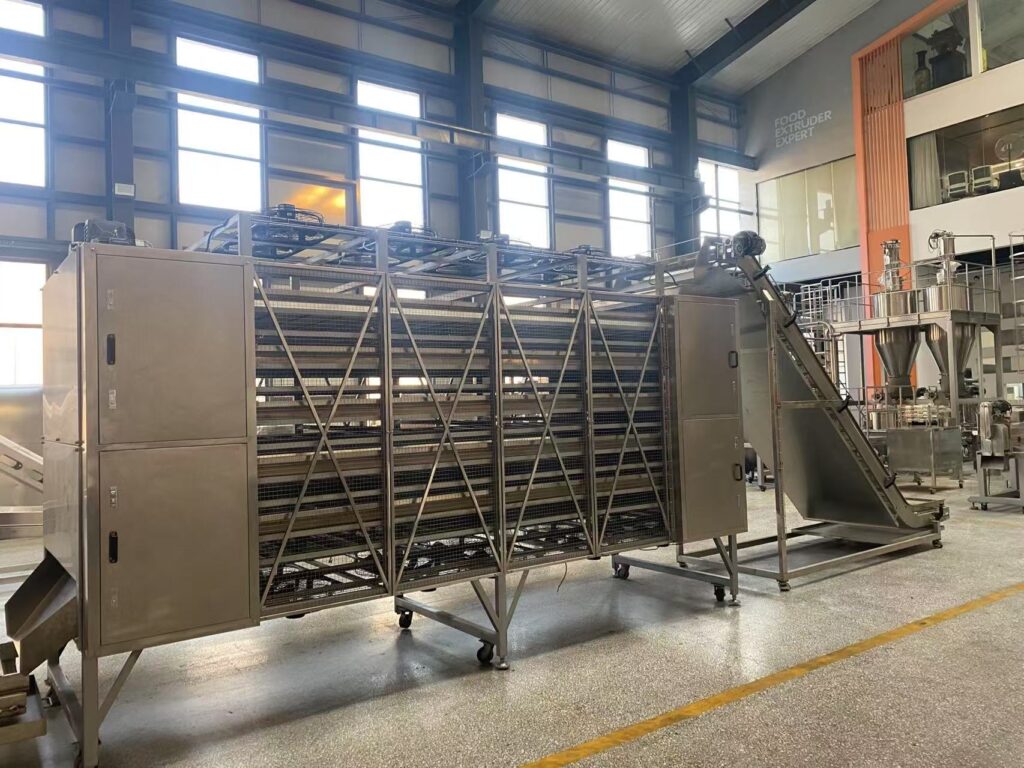
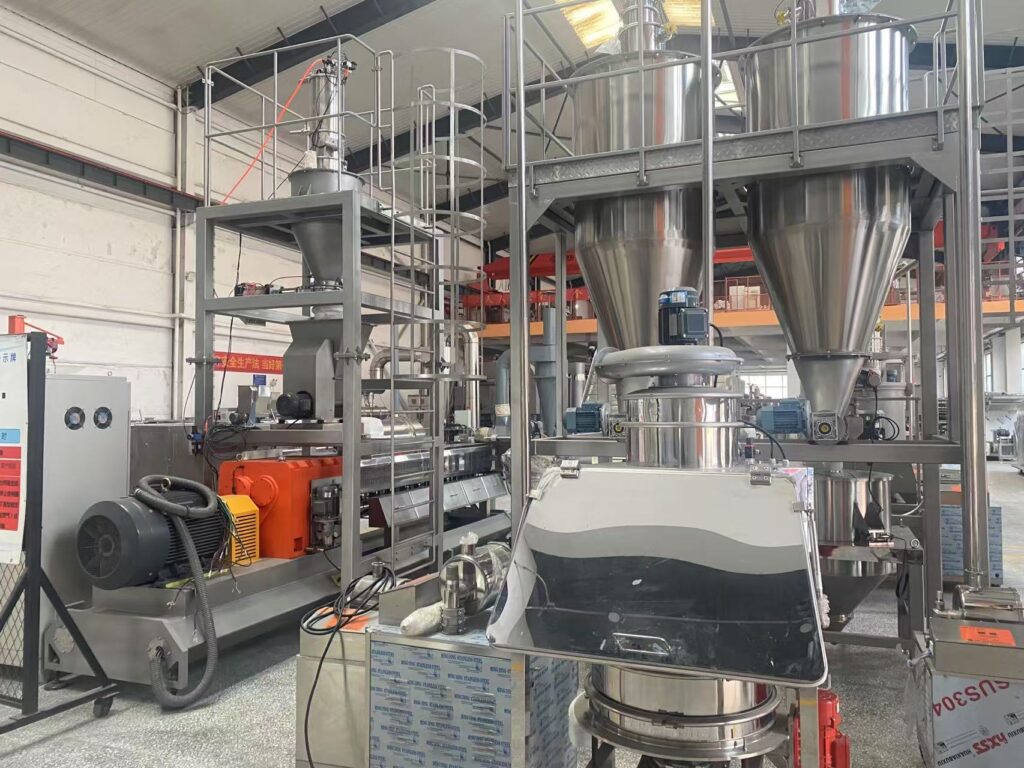
Food extruders—commonly used to produce puffed snacks, breakfast cereals, and textured proteins—require thorough and regular cleaning to ensure product quality, food safety, and equipment longevity. Residue buildup can lead to cross-contamination, microbial growth, off-flavors, and mechanical issues. This guide provides a systematic approach to cleaning a food extruder safely and effectively.

1. Understand the Importance of Proper Cleaning
Extruders are complex machines with tight clearances between the screws and barrel. Improper cleaning can leave hardened material that:
- Harbors bacteria and allergens
- Causes die blockages and inconsistent flow
- Leads to off-spec products during subsequent runs
- Increases wear on screws and barrel liners
Cleaning must be performed after each production run, especially when switching products, colors, or when shutting down for extended periods.

2. Safety First
Before beginning any cleaning procedure:
- Lock out / tag out (LOTO): Isolate electrical power and ensure the machine cannot be accidentally started.
- Allow cooling: The barrel, die, and screws can remain hot for hours after operation. Wait until surface temperatures are below 50°C (120°F) to avoid burns.
- Wear PPE: Use heat-resistant gloves, safety glasses, and protective clothing.
- Ventilation: Ensure adequate ventilation if using cleaning agents or when residual ingredients may generate dust.
3. Cleaning Methods Overview
There are two primary approaches to extruder cleaning:
| Method | Description | Best For |
|---|---|---|
| Dry purging (with purge media) | Running a cleaning compound through the machine | Same-shift product changes; routine cleaning without disassembly |
| Wet cleaning (manual disassembly) | Taking apart components for physical cleaning | Deep cleaning; allergen changeovers; extended shutdowns; visible residue |
Most facilities use a combination of both—dry purging for quick changes, followed by periodic wet cleaning for thorough sanitation.
4. Dry Purging Procedure
Dry purging uses a specialized purge compound (typically corn-based or formulated cleaning media) to mechanically scrub the barrel and screws.
Steps:
- Stop feeding the main ingredient. Allow the screws to run until no product exits the die.
- Introduce purge compound at a controlled rate, usually 50–80% of normal feed rate.
- Adjust screw speed if needed—often slightly higher than production speed to increase shear and scrubbing action.
- Monitor motor load: Purge compounds typically create higher torque. Do not exceed 90% of rated motor load.
- Continue purging until the extrudate appears clean (no traces of previous product, color, or flavor). This may take 5–15 minutes depending on extruder size and residue level.
- Optionally, follow with a second purge of a neutral compound if switching to a highly sensitive product (e.g., allergen-free).
- Run a small amount of new product through the extruder to verify cleanliness before resuming full production.
Advantages:
- Minimal downtime
- No disassembly required
- Effective for color and flavor changes
Limitations:
- Does not clean die plate thoroughly
- Not sufficient for allergen removal or deep sanitation
5. Wet Cleaning Procedure (Manual Disassembly)
For deep cleaning, allergen changeovers, or after extended runs, the extruder must be disassembled and physically cleaned.
5.1 Preparation
- Purge the extruder with a cleaning compound or water to remove bulk material.
- Shut down and lock out the machine.
- Allow to cool to safe handling temperature.
- Prepare cleaning area: Lay out tools, cleaning brushes, non-abrasive scrapers, food-grade sanitizer, and clean water.
5.2 Disassembly
- Remove die plate and cutter assembly: Carefully unbolt the die. Use brass or plastic tools to avoid damaging sealing surfaces.
- Remove screws: Depending on extruder design, either pull screws from the barrel or open the clamshell barrel (if equipped). Follow manufacturer instructions for screw removal.
- Remove any inserts, spacers, or mixing elements as needed.
5.3 Cleaning Components
| Component | Cleaning Method |
|---|---|
| Screws | Soak in warm water with food-grade detergent. Use soft brushes to remove residue. Do not use metal scrapers that could scratch the surface. |
| バレル | Clean with soft brushes and detergent. Inspect for residue buildup in grooves or around injection ports. |
| Die plate | Remove all dried material from die holes using soft drills or brass rods—never steel, which can damage the holes. Soak if necessary. |
| Cutter blades | Clean thoroughly; inspect for damage or dullness. |
| Feed zone | Vacuum or brush out any compacted powder. |
5.4 Sanitization
After physical cleaning:
- Rinse all components with potable water.
- Apply food-grade sanitizer according to manufacturer instructions.
- Allow components to air dry completely or dry with clean, lint-free cloths.
5.5 Reassembly
- Inspect all parts for wear, cracks, or damage before reassembly.
- Lubricate bearings and mating surfaces as specified by the manufacturer.
- Reinstall screws in the correct orientation and sequence.
- Reattach die plate with proper torque on bolts to prevent leakage.
- Perform a dry run (without product) to ensure smooth rotation and no unusual noises.
6. Cleaning the Cooling and Water Systems
Many extruders have water injection systems for moisture control and barrel cooling loops. These can accumulate biofilm or scale.
- Flush water lines with warm water and approved food-grade cleaner.
- Check and clean strainers and filters.
- If scale is present, descale using appropriate food-safe descaling agents.
7. Cleaning Frequency Guidelines
| Scenario | Recommended Cleaning |
|---|---|
| Same product, continuous run | Dry purge every 8–12 hours to prevent buildup |
| Product change (similar color/flavor) | Dry purge between runs |
| Product change (different color, allergen, or flavor) | Wet clean and sanitize |
| Extended shutdown (over 48 hours) | Wet clean; leave barrel and screws clean and dry |
| Post-repair or maintenance | Wet clean before production |
8. Common Mistakes to Avoid
- Using metal tools on screws or barrel surfaces – This causes scratches that trap residue and accelerate wear.
- Skipping lockout/tagout – Severe injury risk from unexpected startup.
- Leaving water in the barrel after wet cleaning – Can cause corrosion or hydrolock during startup. Always dry thoroughly.
- Over-torquing die bolts – Leads to warped dies or broken bolts.
- Using incompatible cleaning agents – Only use food-grade, non-corrosive cleaners.
9. Documentation and Verification
Maintain a cleaning log that includes:
- Date and time of cleaning
- Cleaning method used (dry purge compound, wet clean, etc.)
- Personnel responsible
- Sanitizer used and concentration
- Verification method (visual inspection, ATP swab testing if applicable)
Regular ATP (adenosine triphosphate) swab testing can verify that surfaces are free of organic residue, providing objective evidence of cleaning effectiveness.
10. Summary Checklist
- [ ] Machine locked out and cooled
- [ ] Purge compound run (if applicable)
- [ ] Disassembled components safely removed
- [ ] All parts scrubbed, rinsed, and sanitized
- [ ] Water lines flushed
- [ ] Components dried and inspected
- [ ] Reassembled correctly with proper torque
- [ ] Cleaning log completed
- [ ] Dry test run completed before production
Final Thoughts
Proper cleaning of a food extruder is not just about appearance—it is a critical food safety and quality control function. A well-established cleaning protocol reduces downtime, prevents cross-contamination, extends equipment life, and ensures consistent product quality. Whether performing a quick dry purge between color changes or a full wet clean for allergen management, consistency and attention to detail are key.
Always follow your equipment manufacturer’s specific cleaning recommendations, as extruder designs vary significantly between makes and models. When in doubt, prioritize thoroughness over speed—clean equipment is the foundation of reliable extrusion operations. If you are interested in the snack food extruder , you can contact me , i will give you good advice and solutions .
1.Will you help us with the installation ?
Yes , We will send engineers to install and debug the equipment, and assist in training your staff.
2.Are you a factory or trading company?
We are a factory.
3.What certificate do you have?
We have ISO and CE certificate.
4.How long is the warranty period?
All of our machines have one year warranty.
5.What’s the main market of your company?
Our customers all over the world.
6.How much production capacity of your company one year?
This depends on your needs.