
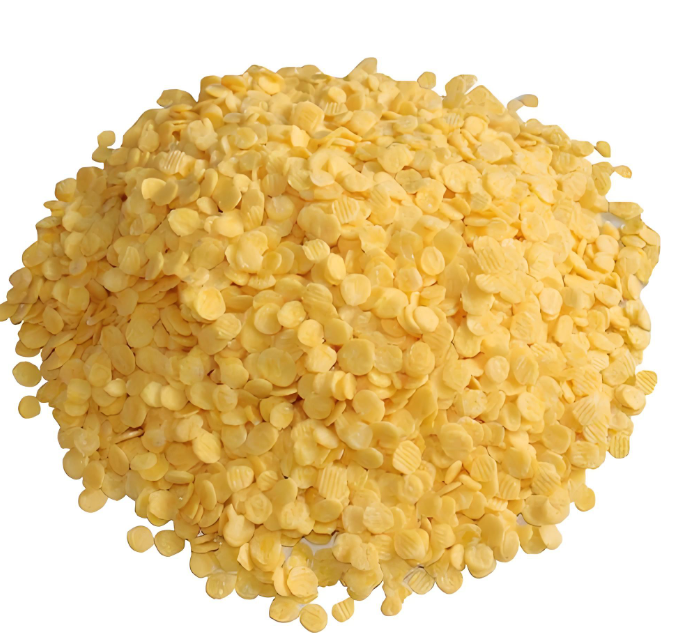
Drying is one of the most important operations in corn flakes manufacturing. It determines crispness, color development during toasting, breakage rate, and shelf life. Effective drying is not only about removing moisture quickly—it is about removing it uniformly while protecting flake structure and preparing the product for stable, consistent toasting.
1) Understand the Role of Drying in Corn Flakes
In a typical process, drying is used in two main places:
- Pellet/Grit Drying (before flaking): Adjusts cooked pellets to the right condition so they can be rolled into intact flakes with low breakage.
- Flake Drying / Toasting (after flaking): Reduces moisture to the final level and develops a crisp texture and toasted flavor.
Good drying control prevents common problems such as over-browning, blistering, sticking, fragile flakes, and uneven crunch.
2) Control Moisture Uniformity (Not Just Average Moisture)
Corn flakes can show a correct “average moisture” but still dry poorly if moisture is uneven. To improve uniformity:
- Use tempering/resting between drying stages so moisture can migrate from the center to the surface.
- Avoid overloading the dryer bed depth; a deep bed increases moisture gradients.
- Maintain even product distribution across the belt or trays to prevent wet spots and hot spots.
Uniform moisture is especially critical before flaking; inconsistent pellets lead to cracking and excessive fines during rolling.
3) Use Gentle Early Drying to Protect Structure
Right after cooking and forming, pellets or flakes are relatively soft. If drying starts with very high heat, the surface can dry too quickly, forming a “dry skin” that traps internal moisture. This may cause:
- Internal steam pressure and blisters
- Surface cracks and fragile flakes
- Poor texture after toasting
A practical approach is staged drying:
- Stage 1 (gentle): Lower temperature, higher airflow to remove surface moisture steadily.
- Stage 2 (stronger): Higher temperature after structure becomes more stable.
- Stage 3 (equalizing): Moderate conditions to balance moisture before discharge.
4) Optimize Airflow: Velocity, Direction, and Distribution
Airflow is often the most underestimated drying lever. To improve performance:
- Ensure uniform air distribution across the full belt width.
- Use sufficient air velocity to remove humid boundary layers.
- Control air direction (top, bottom, or through-bed) based on flake fragility and bed depth.
Poor airflow distribution leads to uneven drying, which later appears as uneven toasting color and inconsistent crunch.
5) Match Dryer Settings to Flake Thickness and Bed Loading
Flake thickness and bed loading strongly affect drying time and heat transfer:
- Thicker flakes need more time and gentler profiles to avoid surface over-drying.
- High bed depth increases moisture variation and slows drying.
- Keep feed rate stable; fluctuating throughput causes constant moisture swings.
Where possible, use automated control (belt speed + zone temperatures + airflow) to stabilize moisture at the dryer outlet.
6) Manage Temperature to Prevent Over-Browning and Off-Flavors
Corn flakes are sensitive to heat, especially when sugar or malt is present. To avoid excessive browning:
- Keep dryer temperatures controlled in early zones.
- Shift more “color development” to the toaster stage rather than overdrying with high heat.
- Monitor exhaust humidity; very dry exhaust with high temperature often indicates inefficient heat use and risk of scorching.
7) Use Tempering Time as a Quality Tool
Tempering is a simple but powerful technique:
- After partial drying, hold product briefly in a bin or a calm conveyor section.
- This allows internal moisture to redistribute, making the next drying stage more uniform.
- Tempering reduces cracking during handling and improves consistent crispness after toasting.
8) Measure the Right Indicators
To control drying effectively, monitor:
- Moisture content at key points (after pellet drying, after toasting, before packaging)
- Water activity (aw) for shelf-life stability and crispness retention
- Color (consistent light golden tone) after toasting
- Breakage/fines generated after conveying and packaging
Using both moisture and water activity helps distinguish “dry enough” from “stable and crisp over time.”
9) Prevent Moisture Pickup After Drying
Even perfectly dried flakes can lose crispness if they absorb moisture before packaging:
- Cool flakes to near room temperature before packing to prevent condensation.
- Minimize exposure to humid air; use short transfer lines or enclosed conveyors.
- Use packaging with good moisture barrier and ensure tight sealing.
Successful corn flakes drying depends on uniform moisture removal, staged temperature profiles, strong and even airflow, stable bed loading, and smart use of tempering. When drying is optimized, flakes toast evenly, stay crisp longer, and show fewer defects such as blistering, cracking, or uneven color—resulting in a more consistent, high-quality breakfast cereal.