
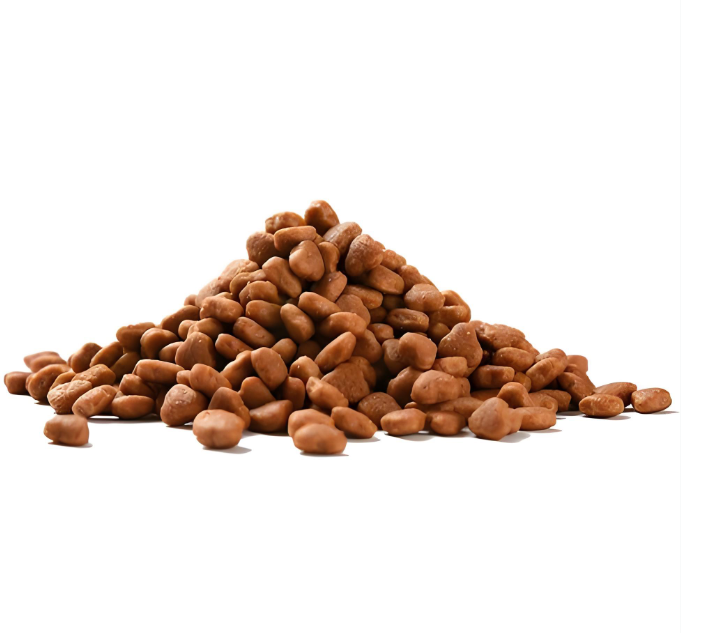
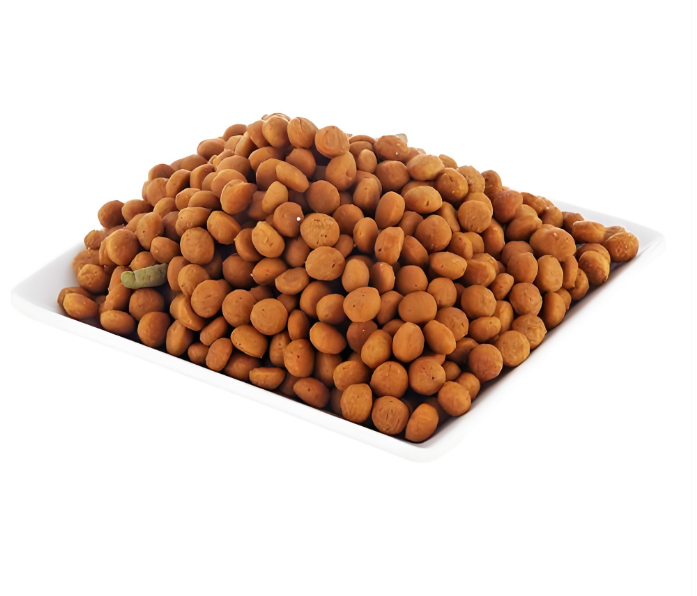
Drying dog food is mainly about removing moisture to slow microbial growth, reduce spoilage, and create a stable texture. Whether you’re drying homemade dog treats at home or drying cooked pieces in a small-scale production setting, the principles are the same: control time, temperature, airflow, thickness, and final moisture.
Below is a clear, step-by-step explanation of how dog food is typically dried and what to watch for.
1) Choose what you are drying (and why it matters)
Different products dry differently:
- Thin treats (jerky strips, biscuits): dry quickly and evenly.
- Soft cooked chunks (fresh-cooked food pieces): slower, risk of wet centers.
- Extruded kibble (fresh from an extruder): starts hot and moist; needs staged drying to avoid cracking.
- High-fat recipes: dry poorly because fat does not evaporate; may stay greasy and go rancid faster.
Rule of thumb: thinner pieces + lower fat = easier, safer drying.
2) Pre-cook or not? (Safety first)
Drying is not always a reliable “kill step” by itself, especially at low temperatures. Many processes cook first (bake, steam, boil) and then dry to stability.
For home treat-making, pre-cooking animal ingredients is often the safer approach. dog food making machine price For industrial kibble, the kill step typically occurs earlier during cooking/extrusion, with drying focused on moisture reduction.
3) Prepare the product for even drying
To avoid wet centers and spoilage:
- Cut to uniform thickness (consistency is everything).
- Spread in a single layer with space between pieces.
- Blot surface moisture or oil if needed.
- Avoid piling—piles trap humidity and create uneven results.
4) Pick a drying method
A) Oven drying (home method)
- Use the oven at a low setting.
- Keep the door slightly cracked if your oven traps moisture (improves airflow).
- Flip/rotate trays during drying for evenness.
Best for: biscuits, thin slices, small batches.
B) Dehydrator (home + small production)
- Designed for steady airflow and consistent temperature.
- Usually produces more even results than an oven.
Best for: jerky-style treats, fruit/veg inclusions, uniform pieces.
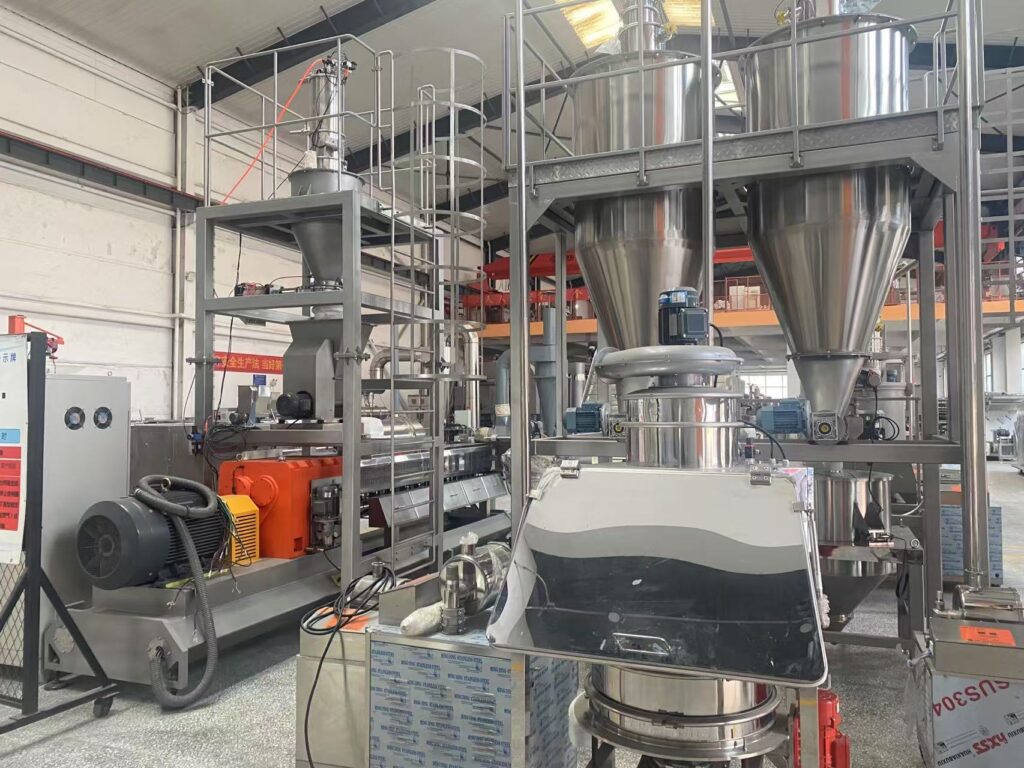
C) Hot-air conveyor dryer (industrial)
This is the most common industrial approach. Product moves through zones with controlled:
- air temperature
- airflow velocity
- humidity/exhaust rate
- residence time
Best for: kibble, pellets, high-volume treats.
5) Control temperature, airflow, and time (what actually drives drying)
Drying is a balance between removing water without damaging the product.
- Higher temperature dries faster but can harden the outside too quickly, trapping moisture inside (“case hardening”).
- Stronger airflow improves evaporation and reduces drying time.
- Thicker pieces require slower, staged drying so the center can catch up.
In industrial lines, drying is often done in multiple stages/zones (hotter early, gentler later) to avoid surface sealing and cracking.
6) Know when it’s “dry enough”
The goal isn’t “as dry as possible.” The goal is stable moisture.
Common indicators:
- Pieces feel firm and not tacky.
- No visible steam or softness at the core when broken open.
- Weight stops dropping significantly (a practical home indicator).
In professional settings, manufacturers verify with measurements like:
- moisture percentage
- water activity (aw) (a key stability metric)
If you’re doing anything beyond personal use, water activity testing is one of the most important controls for shelf stability.
7) Cooling: don’t skip it
After drying, product must cool to near room temperature before packaging.
If you pack while warm:
- moisture can condense inside the bag
- surface becomes damp again
- mold risk increases
Industrial systems use dedicated coolers for this reason.

8) Packaging and storage
Once dry and cool:
- Use clean, dry, airtight packaging.
- Keep away from heat and sunlight.
- High-fat products need extra care because oxidation (rancidity) can occur even if moisture is low.
For longer storage, oxygen-barrier packaging and proper handling matter a lot.
9) Common drying problems (and what they mean)
- Outside hard, inside soft: drying too hot too fast (case hardening); reduce heat, increase time/airflow, cut thinner.
- Cracking and lots of crumbs: drying too aggressively; use staged drying and gentler finish.
- Mold during storage: final product not dry enough or packed warm; dog food making machine price improve drying uniformity, extend drying, cool fully.
- Greasy surface: recipe too high in fat or fat added before drying; consider drying first, then light coating.
Drying dog food is a controlled process: prepare uniformly, apply steady heat and airflow, dry to stability, cool fully, then package cleanly. When done correctly, drying improves safety and shelf life while preserving texture and palatability.
If you tell me whether you want this article for home-made treats or factory-style production, and what form you’re drying (jerky, biscuits, kibble), I can rewrite it with specific temperatures/time ranges and a simple workflow checklist tailored to your scenario.